Polyverse's Asset Libraries help you organize a wide range of digital assets including 3D models, materials, audio, video and more. This article explains how to create and manage Asset Libraries in the Polyverse.
To learn more about how to add and manage assets in a library, please visit our dedicated article on library assets.
¶ Creating an Asset Library
 To create a Polyverse asset library, in the sidebar, click on the
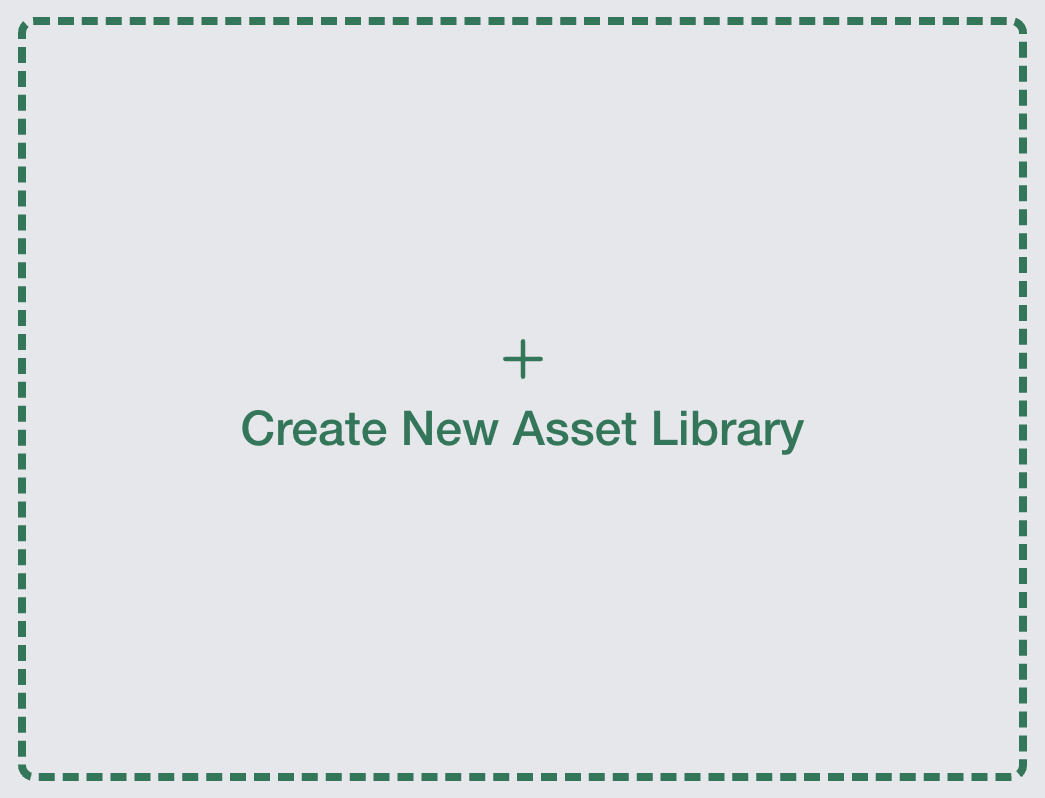
 Asset Libraries link under the Asset Management heading. This will take you to the main Asset Library page. From here, click Create New Asset Library to make a new one.
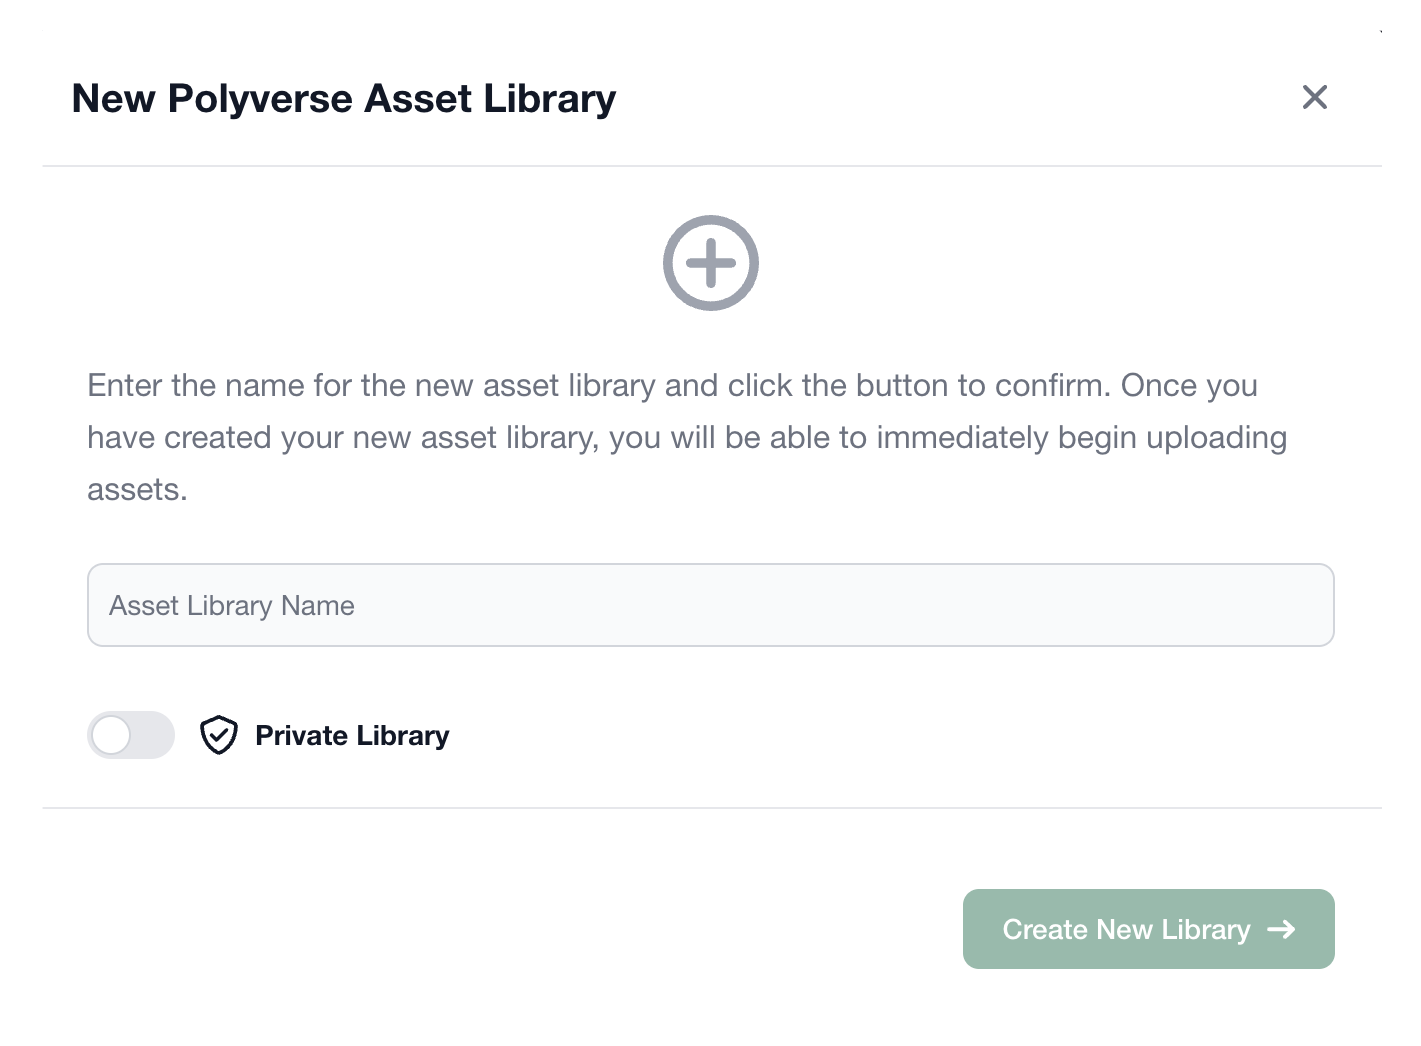 Polyverse will present a dialog asking for the new library’s name and to set whether it’s a public or private library.
Private Asset Libraries: Private libraries are only visible to you and your team. To grow your team, simply invite other users to your library and setup their access permissions. Polyverse's enterprise grade role management enables you to easily setup the rules of engagement for your team: from an approval process for new assets to read-only permissions. To create a private library, you'll need to have an active Polyverse subscription.
To learn more, please visit our dedicated article on private asset libraries.
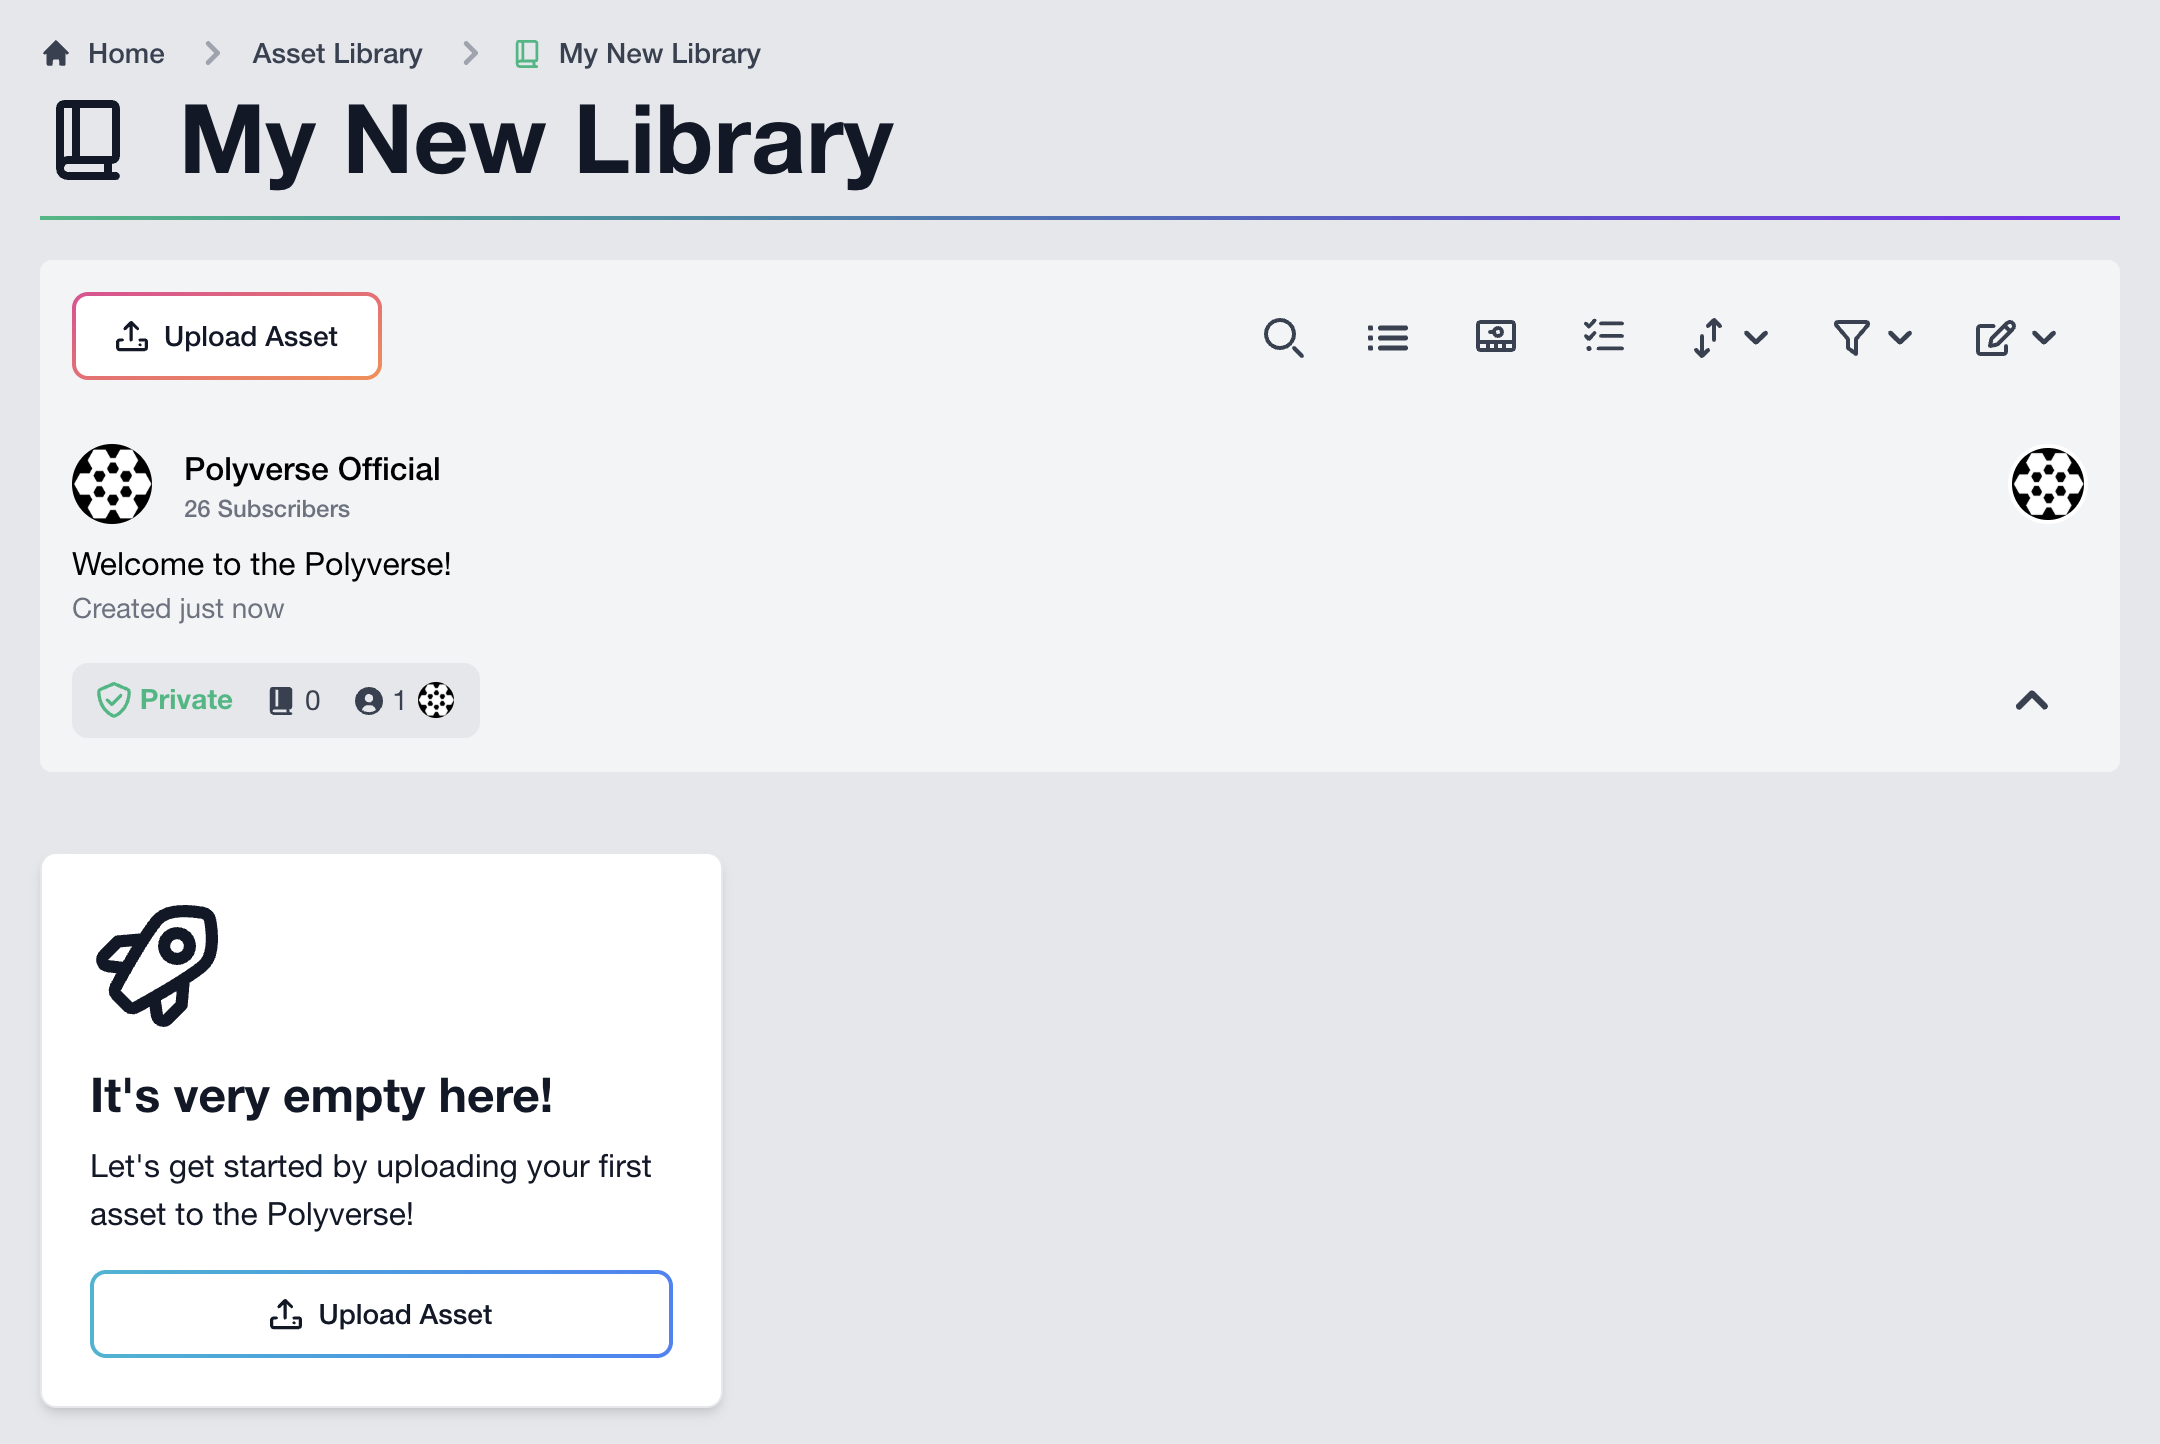
Once you create your library, Polyverse will take you directly to it. Congratulations! You've created your first Polyverse Asset Library! 🥳
¶ Editing an Asset Library’s Information and Settings
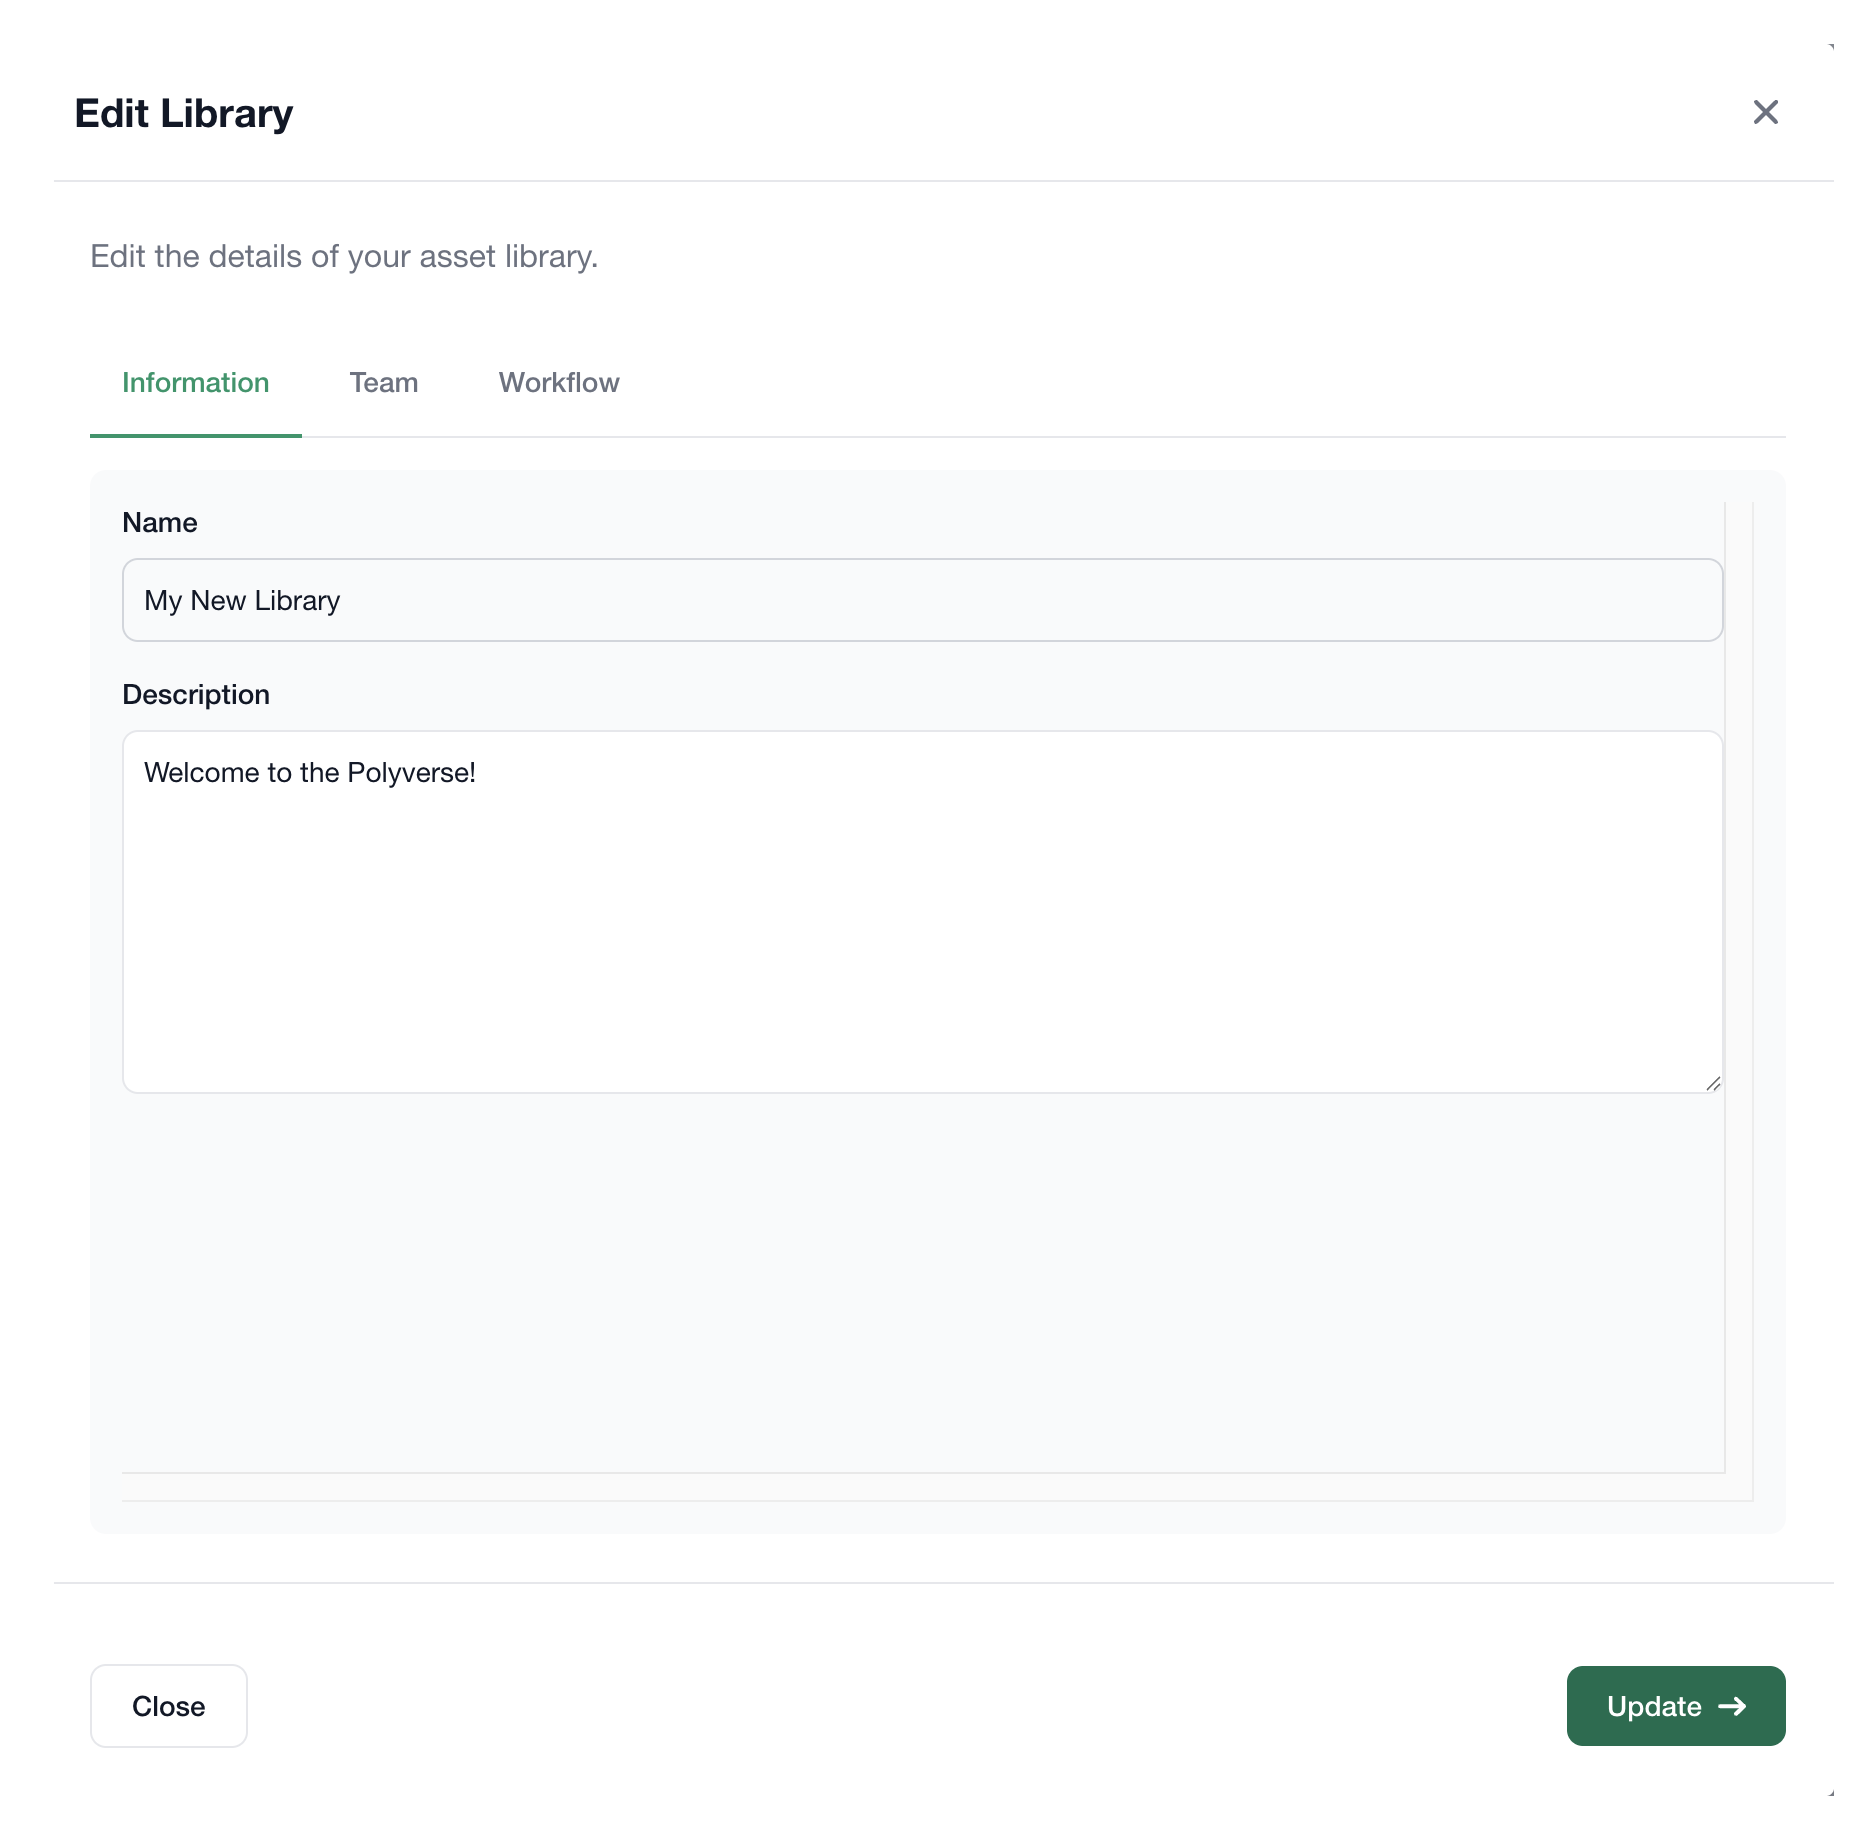
To adjust a library’s name and description, click the Edit Library button located in the top right corner of the library information area. From the dropdown, select Edit Information. This panel also provides tabs for editing team members and assigning Polytron Workflows.
¶ Managing Team Members
To manage an asset library's team members and access permissions, click the Edit Library button located in the top right corner of the library information area. From the dropdown, select Manage Members.

To invite a user, enter their email, choose their access permissions from the New User Permissions dropdown, and click the blue Invite button.
¶ Deleting an Asset Library
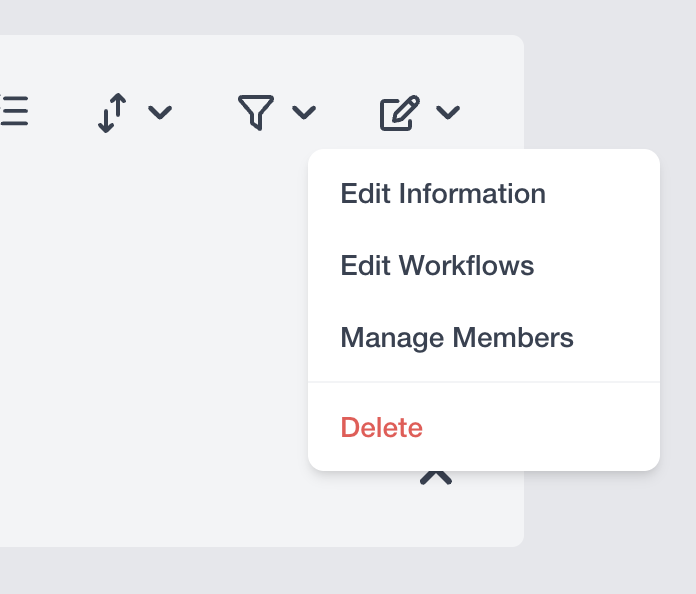 To delete an asset library, click the
 Edit Library button located in the top right corner of the library information area, and select Delete from the dropdown menu.