This article explains how to create and manage your digital assets in Polyverse Asset Libraries.
To learn more about how to create Polyverse Asset Libraries, please visit our dedicated article on asset libraries.
¶ Uploading a New Asset
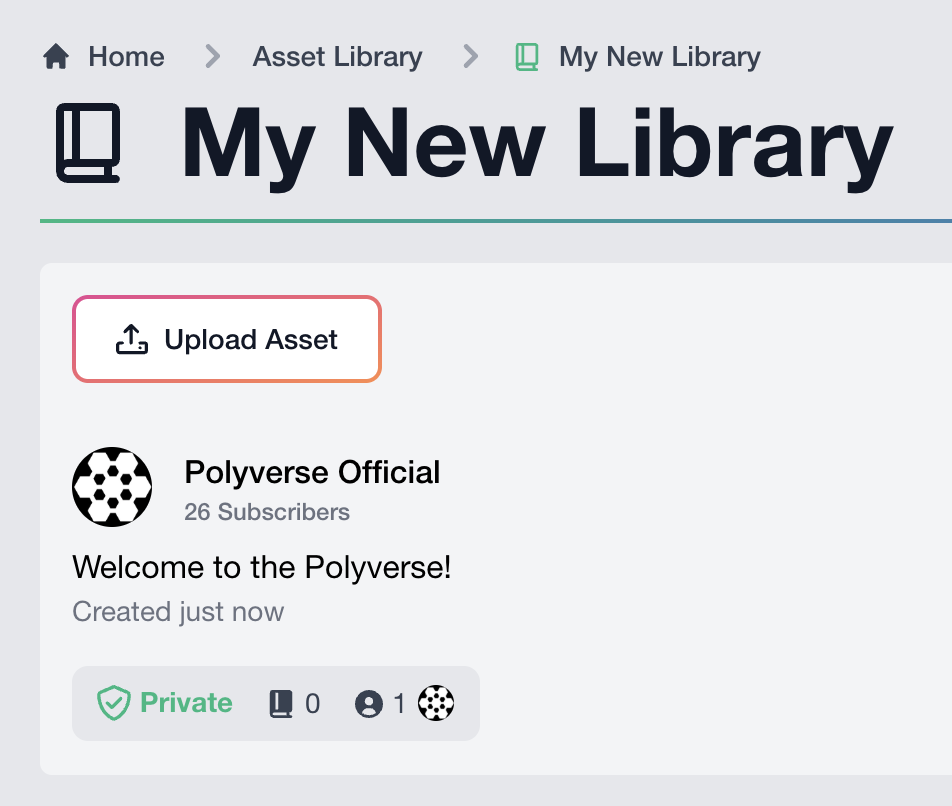 To upload a new asset into an asset library, click the
 Upload Asset button in the top right section of the asset library information area.
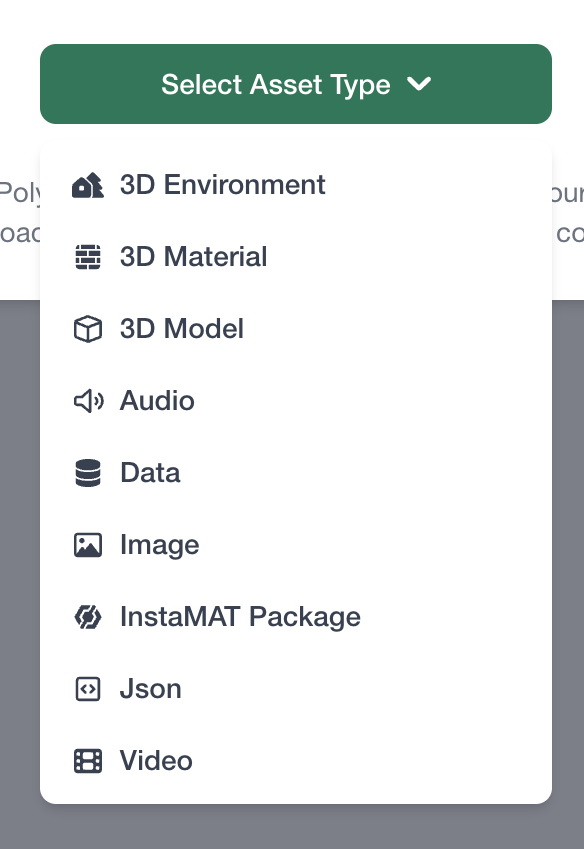 From the popup, select the type of asset you would like to upload. Note that the list of available options will vary depending on whether the library is private or public.
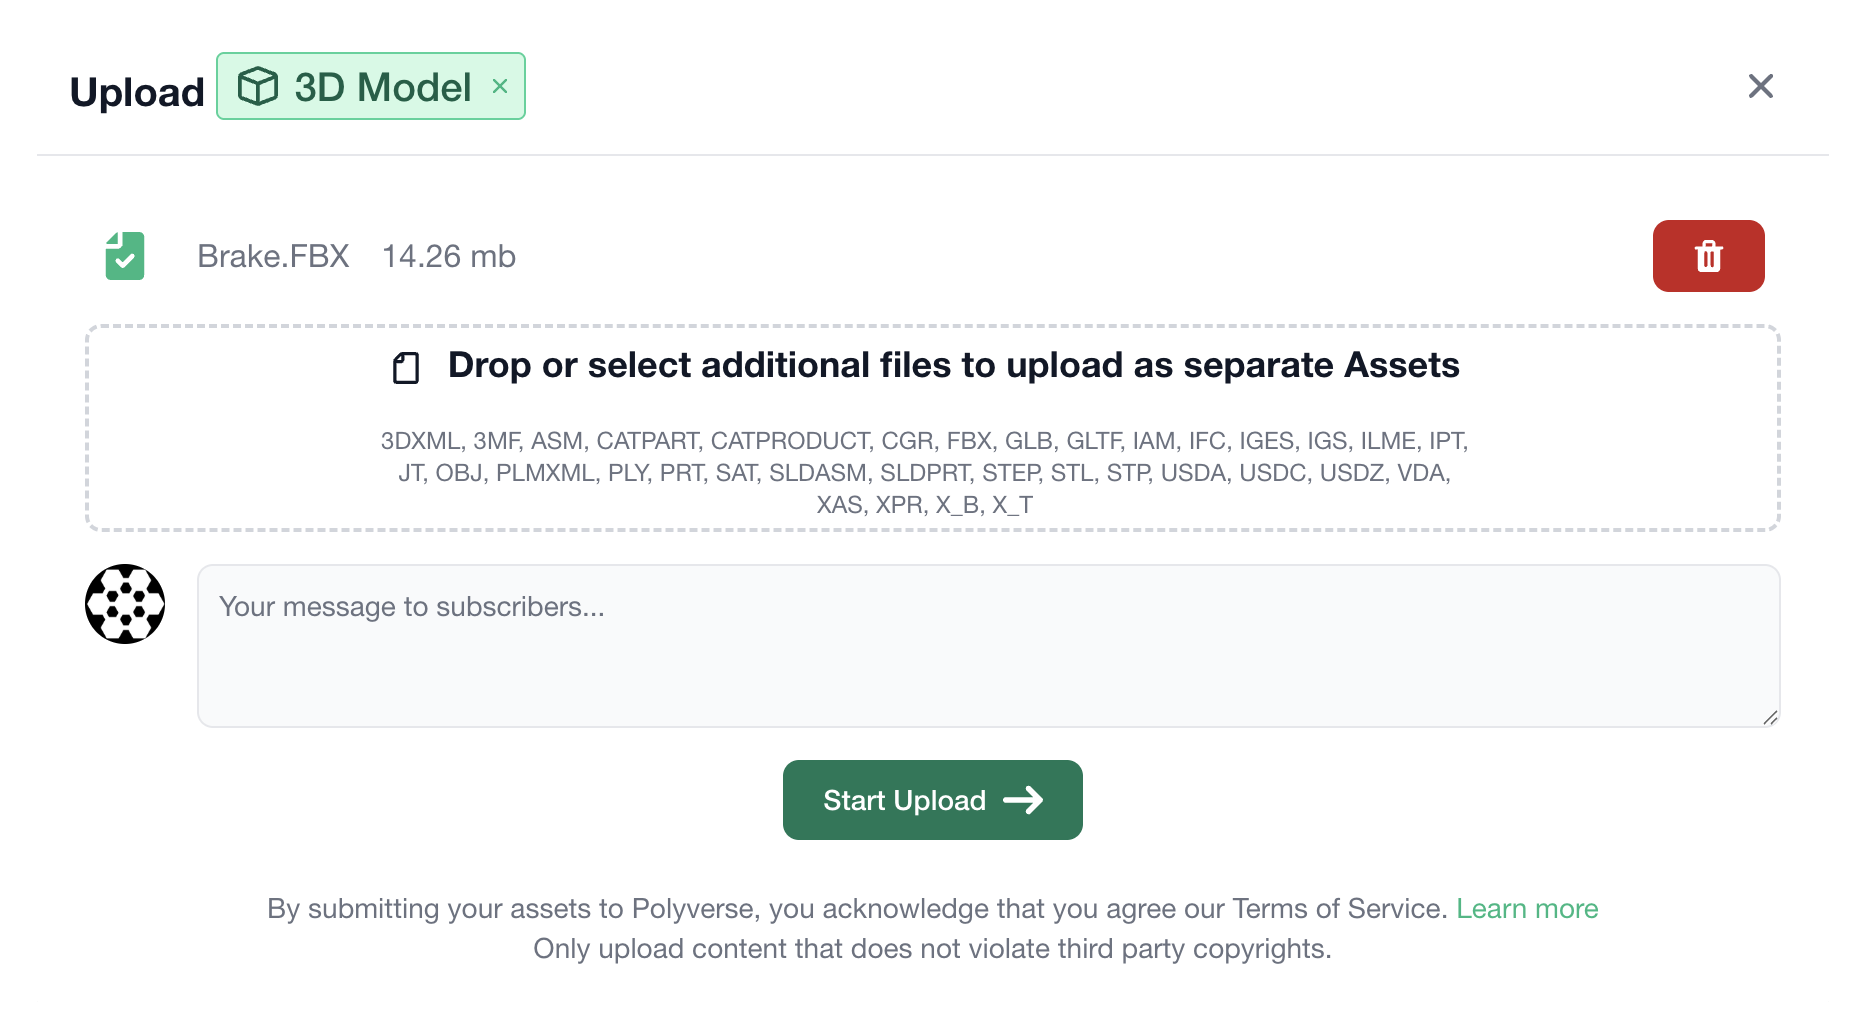
Then, simply drag and drop the asset into the drop well and click the green Start Upload button to upload the asset. For some asset types, it is possible to upload multiple assets at once.
¶ Editing an Asset
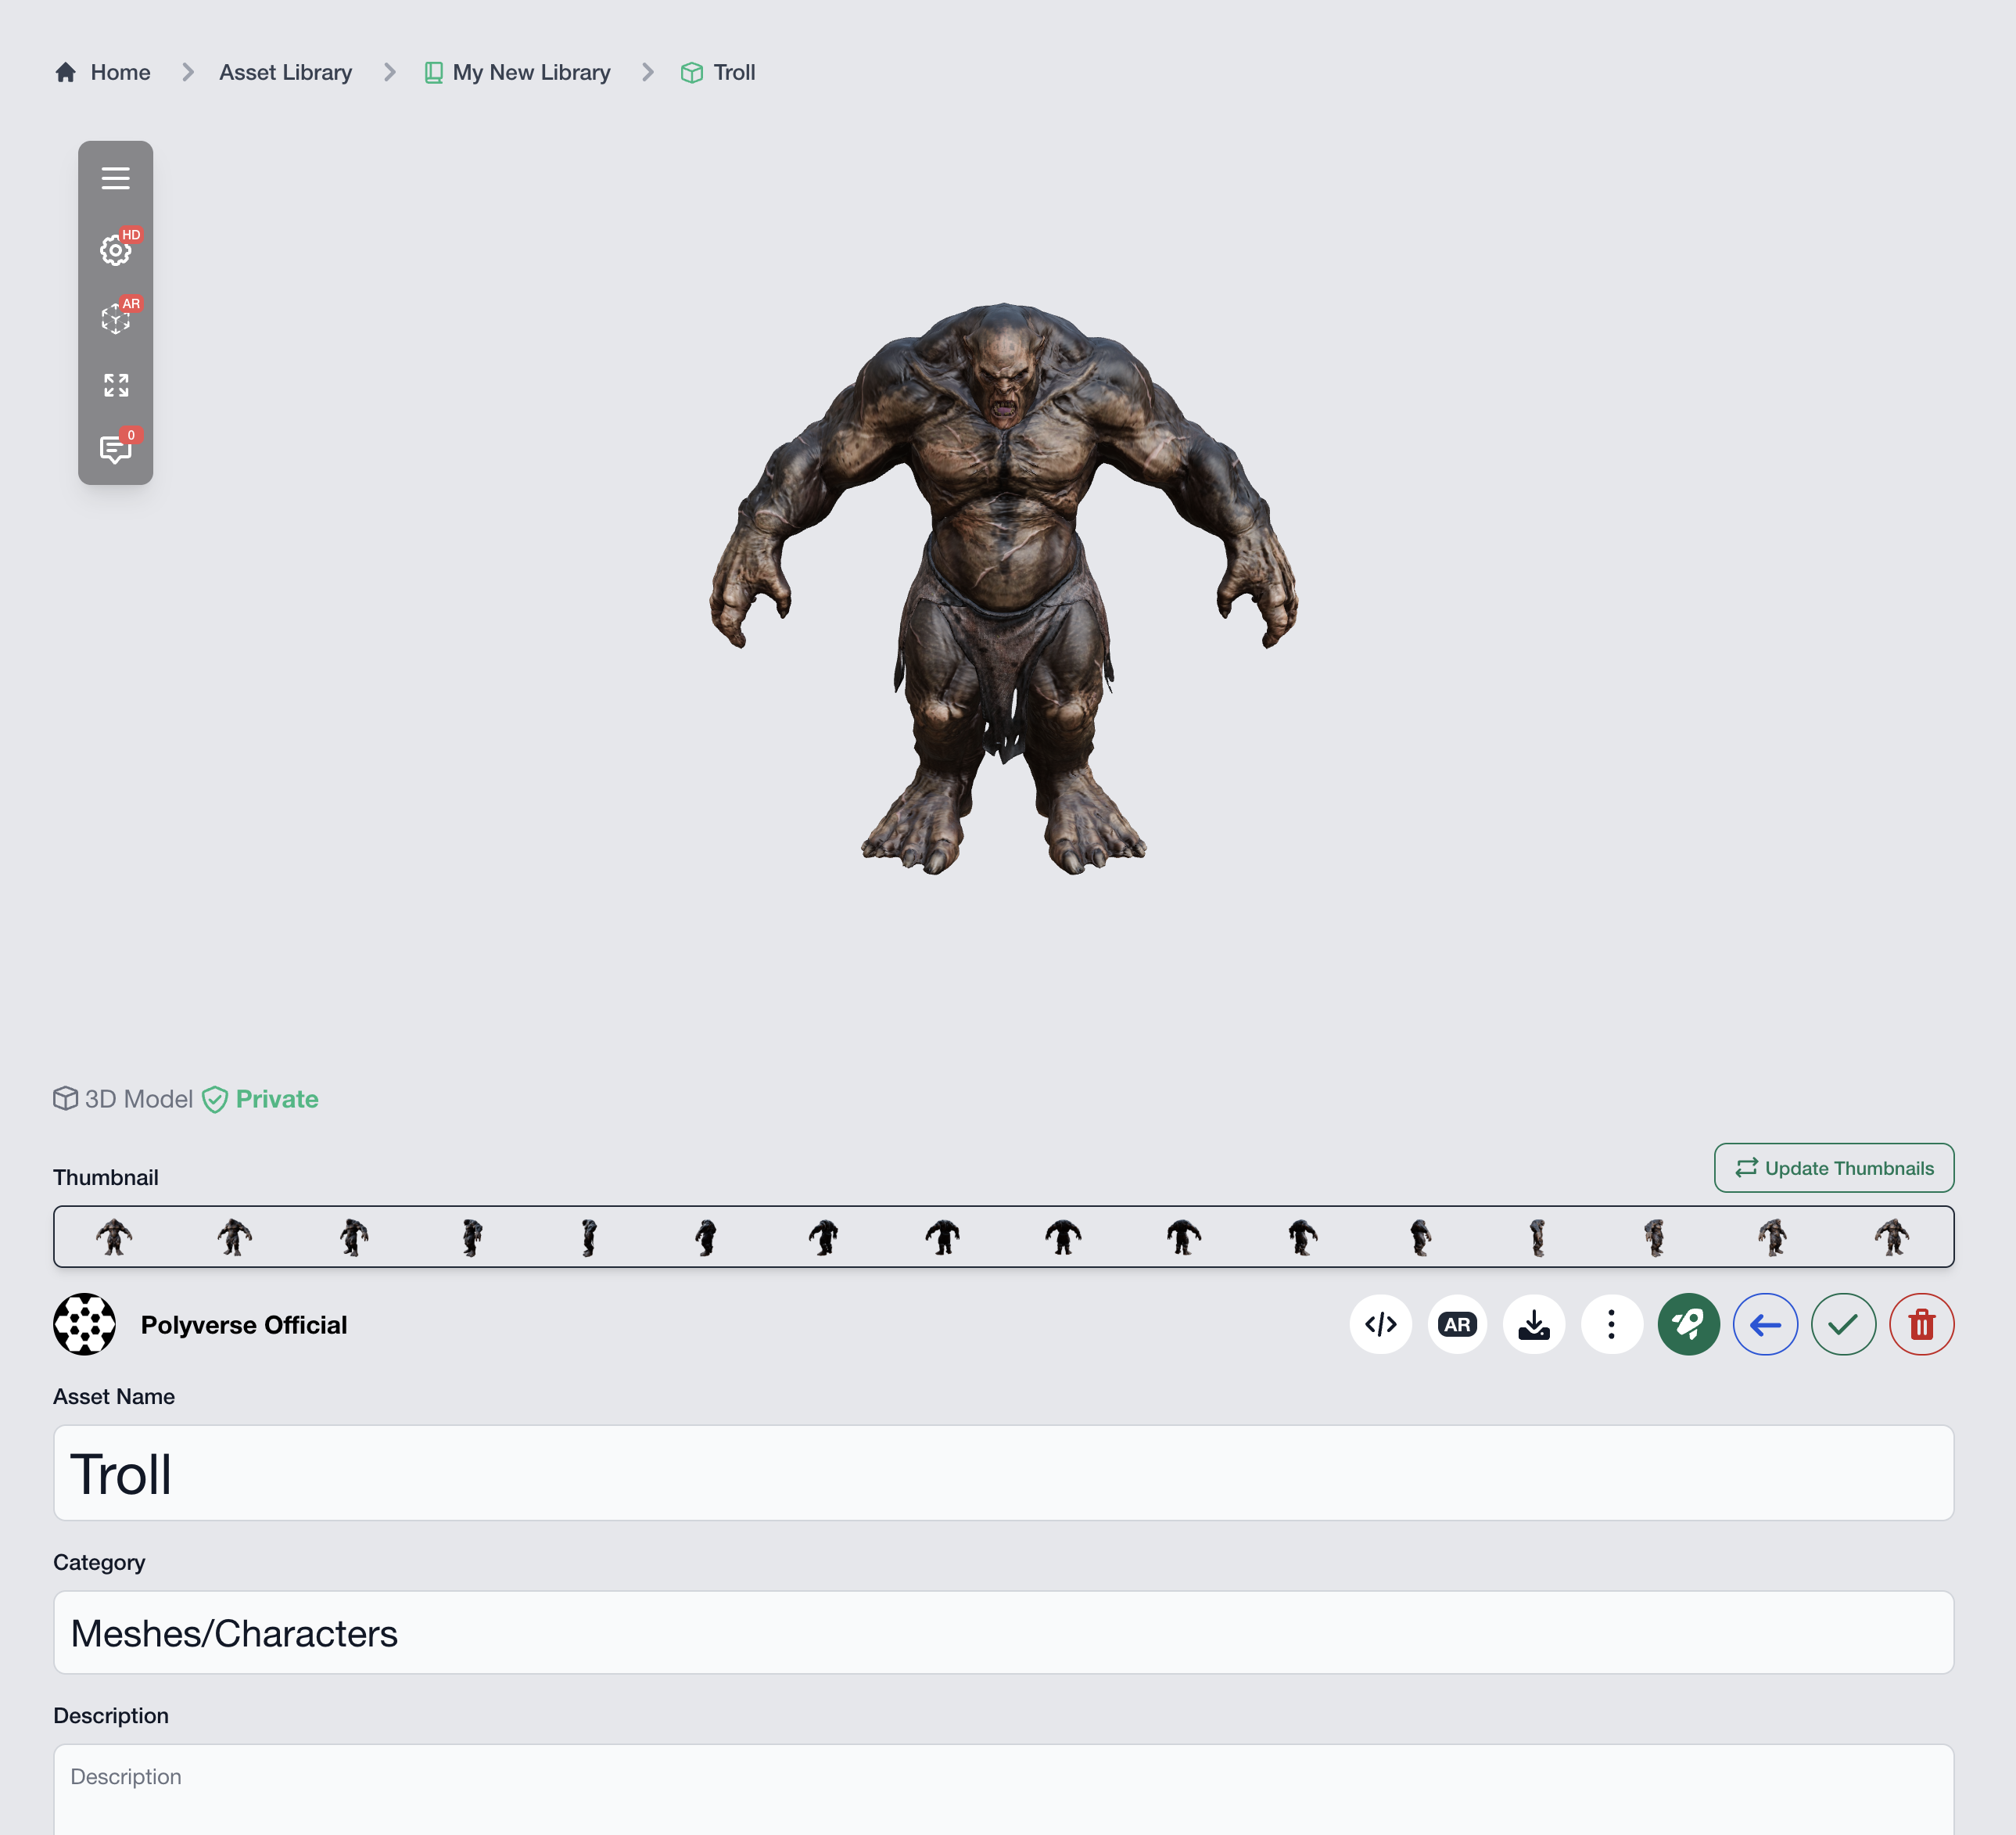
Once an asset has been uploaded, the asset's edit page will appear. Alternatively, you can access an asset's edit page by clicking on the asset in a library, then clicking the Edit Asset button below the asset viewer.
¶ Preprocessing
After uploading, Polyverse preprocesses assets automatically to ensure seamless compatibility with a wide range of different viewers and environments. In this example, a 3D mesh has been added. Meshes are automatically processed to be viewable on the web, this includes converting CAD file formats to 3D or converting non web-compatible formats to formats viewable on the web. Additionally, other variants are created such as a variant viewable in AR.
Note: Polyverse may display a message in the asset viewer mentioning that auto-play has been disabled due to the size of the asset. Simply click the green button load the asset anyways, or wait for Polyverse to finish preprocessing the asset to load it into the viewer.
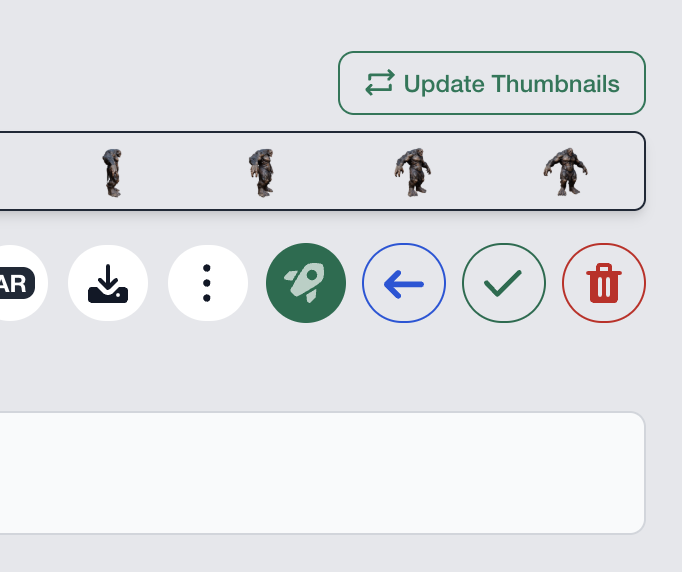
 During preprocessing, Polyverse automatically generates an interactive turntable thumbnail. You can view it by moving your mouse over the asset's thumbnail when viewing all assets in a library.
¶ Editing an Asset's Metadata
Once an asset has been uploaded, its metadata including its name, category, description, tags, custom metadata keys, visibility, and more can be edited from this page.
To save changes, click the green save button below the asset viewer, or the Save Changes button at the bottom of the edit page.
¶ Customizing a 3D Asset's Viewport
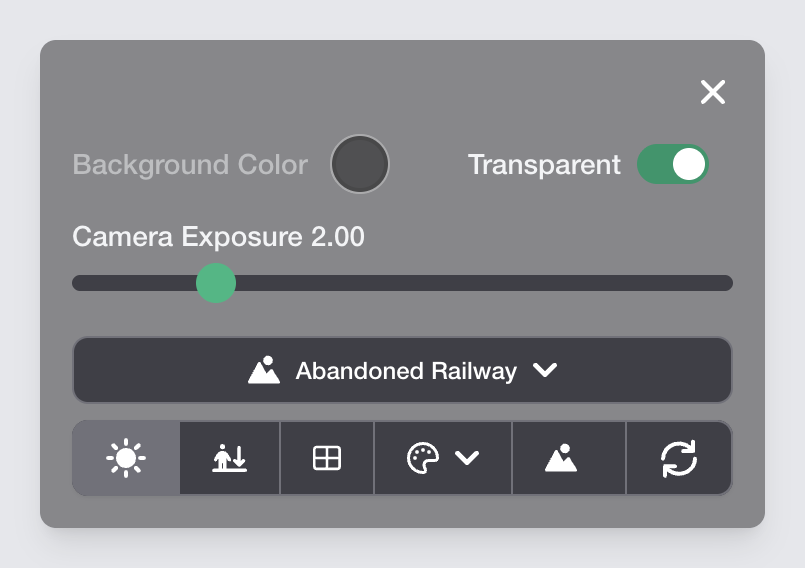 An asset's viewport can be customized by clicking on the button located in the top left of the asset viewer. This reveals additional settings such as the background color, environment lighting, rendering mode, and more. These settings get saved when clicking the green save button below the asset viewer, or the
 Save Changes button at the bottom of the edit page.
¶ Publishing Assets
Publishing an asset makes it available to users that have access to the library and to the public depending on the the asset's visibility setting. To publish an asset, click the green Publish button below the asset viewer, then confirm publishing with the confirmation popup.
¶ Publishing Multiple Assets in Bulk
To publish multiple assets at the same time:
- Navigate to the asset library that contains the assets to publish.
- Click the in the top right corner of the library information area.
- Select the assets to publish.
- Click the green
Approve Selected Assetsbutton below the library information area. - Confirm publishing from the confirmation popup.

¶ Asset Visibility
An asset's visibility can be set from the edit page.
Assets have three visibility options:
- Public: The asset can be seen by members of this library and the asset can be embedded on public websites or via direct link.
- Private: The asset can be seen by members of this library. The asset can be embedded on private websites when embedded with an API key.
- Unlisted: The asset can only be seen by the author, and users that have the 'Publisher' role.
Note: Assets in private asset libraries can be set to public visibility, allowing users without library access to view them via a direct link or a webpage embed. This grants access to individual assets while keeping the rest of the library private.
¶ Deleting an Asset
 To delete an asset, navigate to the asset in a library and open the edit page by clicking the
 Edit Asset button below the asset viewer. Click the red delete button, then confirm the deletion from the popup.
¶ Deleting Multiple Assets in Bulk
To delete multiple assets at the same time:
- Navigate to the asset library that contains the assets for deletion.
- Click the in the top right corner of the library information area.
- Select the assets to delete.
- Click the red
Delete Selected Assetsbutton below the library information area. - Confirm deletion from the confirmation popup.