A task is the basic building block in Project Deliveries. Tasks automatically link to assets and team members in the Polyverse asset management system.
¶ Creating a New Task
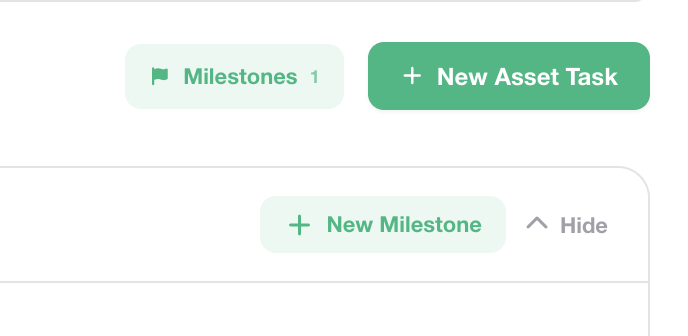 To create a new task click the
 New Asset Task button in the top right corner.
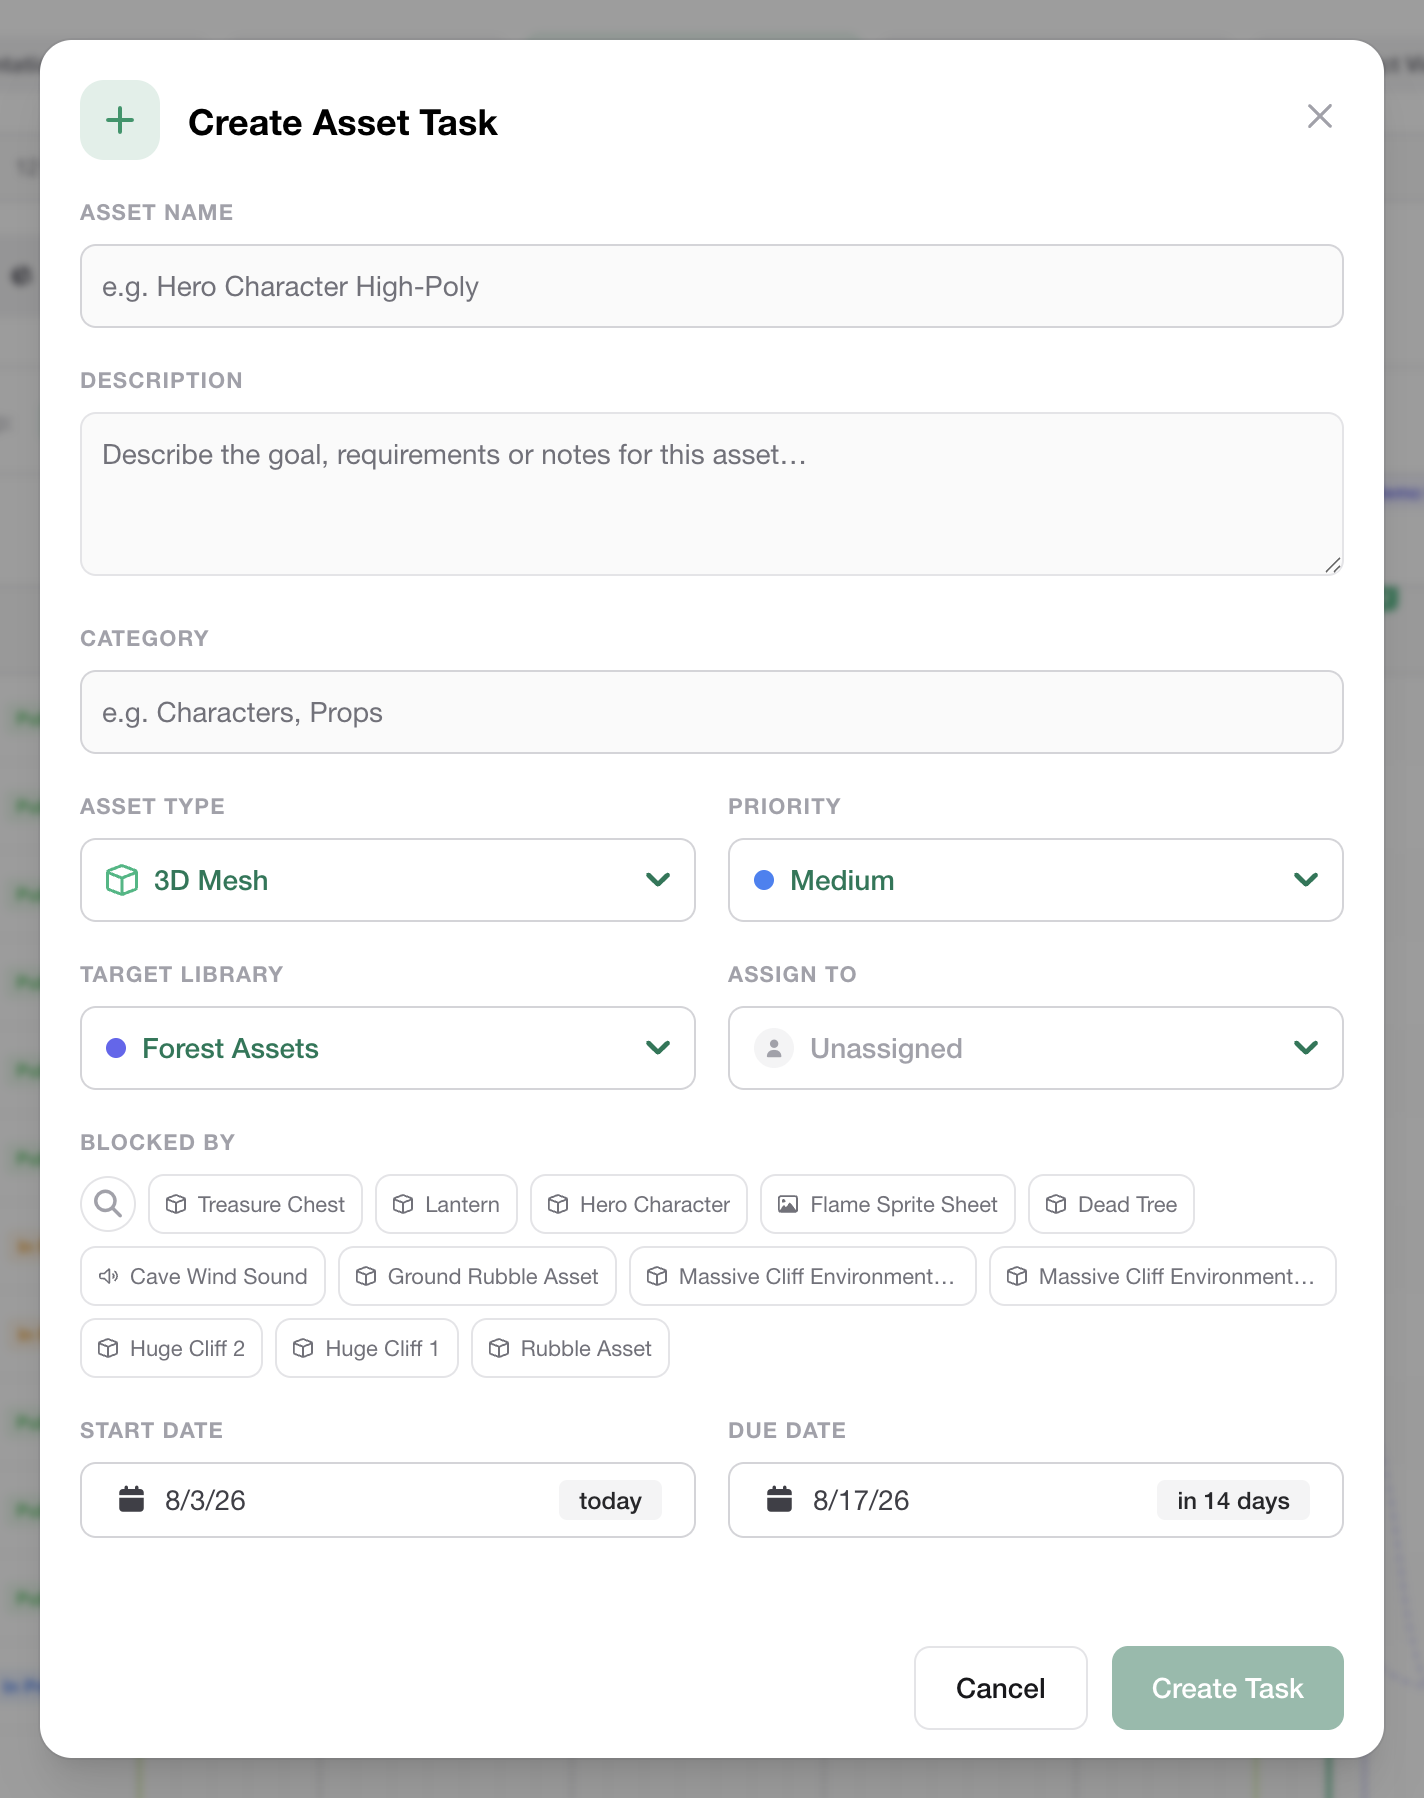
The Create Asset Task view appears with inputs for all task-related information. Here, you can provide the asset’s name, description, category, and type. These fields apply to the asset created in the selected Target Library. After choosing a library, you can assign the task to team members in that library and select any existing tasks that block completion. Selected tasks here will create dependencies and will be visualized in the Timeline view. Finish by setting a start date and due date.
¶ Dependencies and Task Manipulation in the Timeline View
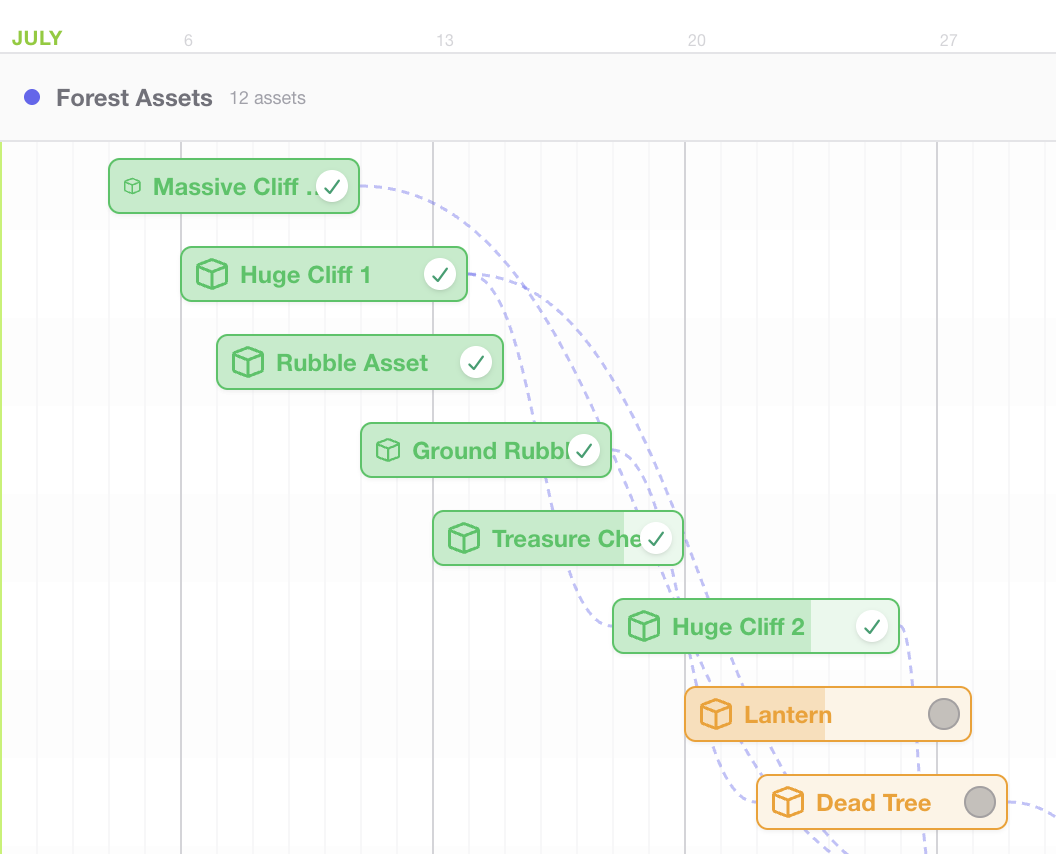 Task dependencies are visualized in the
 Timeline view with a dashed line.
You can adjust a task’s start and due dates by dragging the left or right edge of the task bar on the timeline.
To move an entire task forward or backward in time while keeping its duration the same, drag it from the center.
¶ Editing a Task
Once a task has been created, its information can be edited. A task can be opened by doing either of the following:
- In the
Timelineview- Double-clicking the task bar
- Single-clicking the task title
- Hovering over the end of a task bar in the timeline and clicking the open task button
- In the
Boardview- Single-clicking on a task card
When opened, the task displays its full details and information.
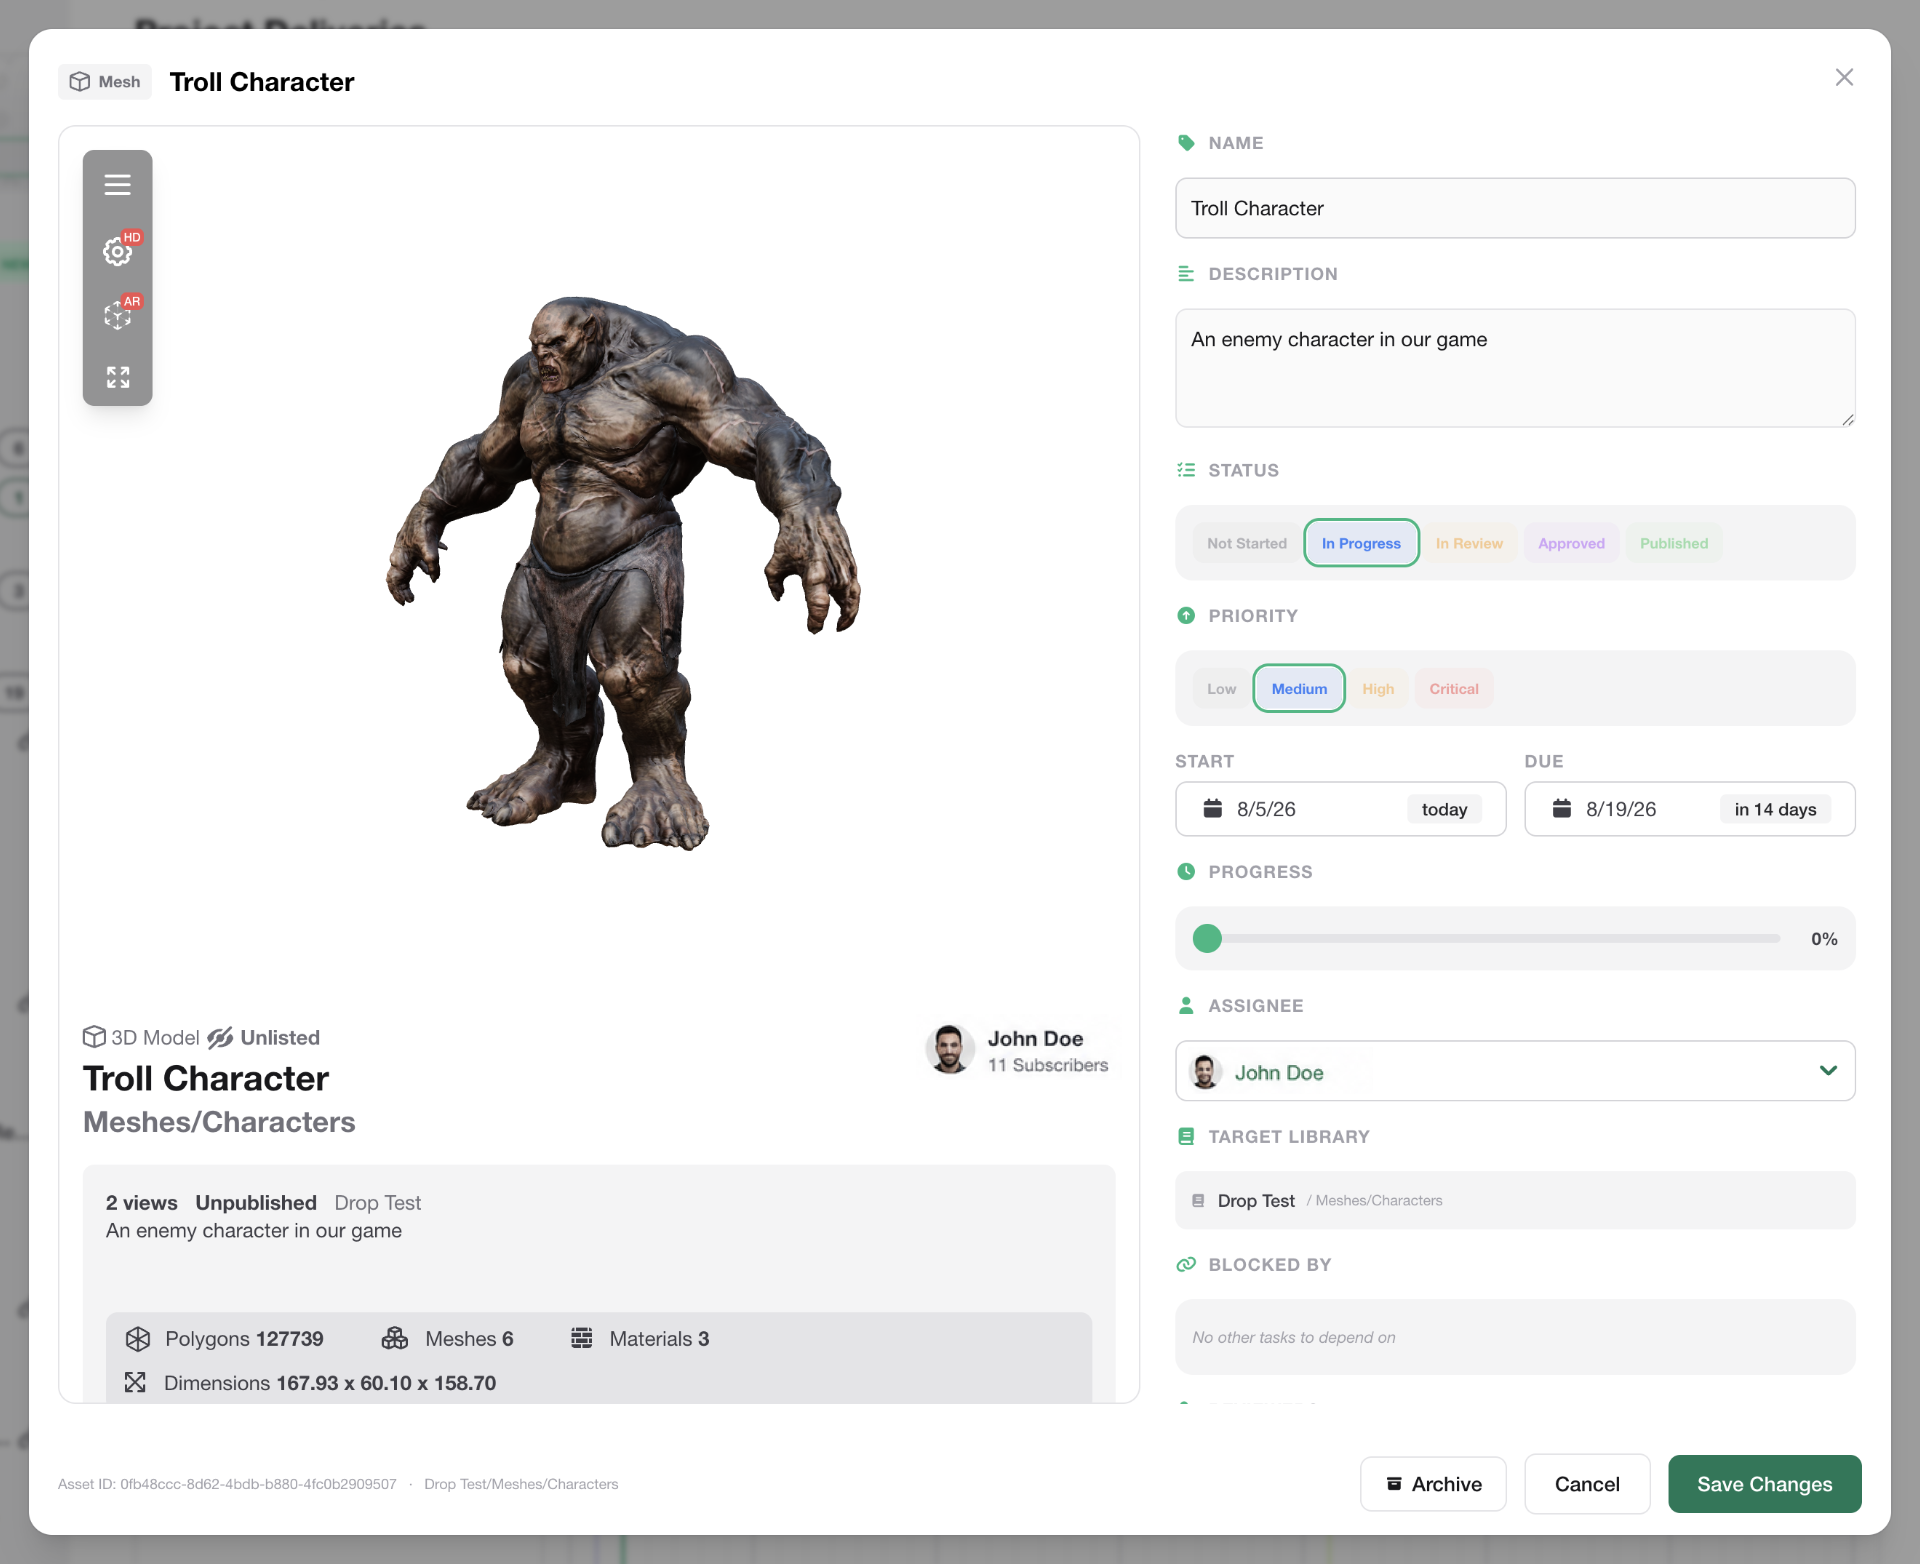
In addition to the details entered when creating a task, the task displays additional fields such as Status, Priority, and Progress to help you track, discuss the work, and move the task to completion.
All task activity is tracked in the Activity area at the bottom of the right portion of the task view.
¶ Uploading or Assigning an Asset
Use the left area to upload the first version of the asset. This will replace an asset placeholder that is currently in the asset library. All asset tasks create this placeholder and are visible in the asset library view. In addition to directly uploading an asset through the task, it’s also possible to link an asset that is already in the same asset library.
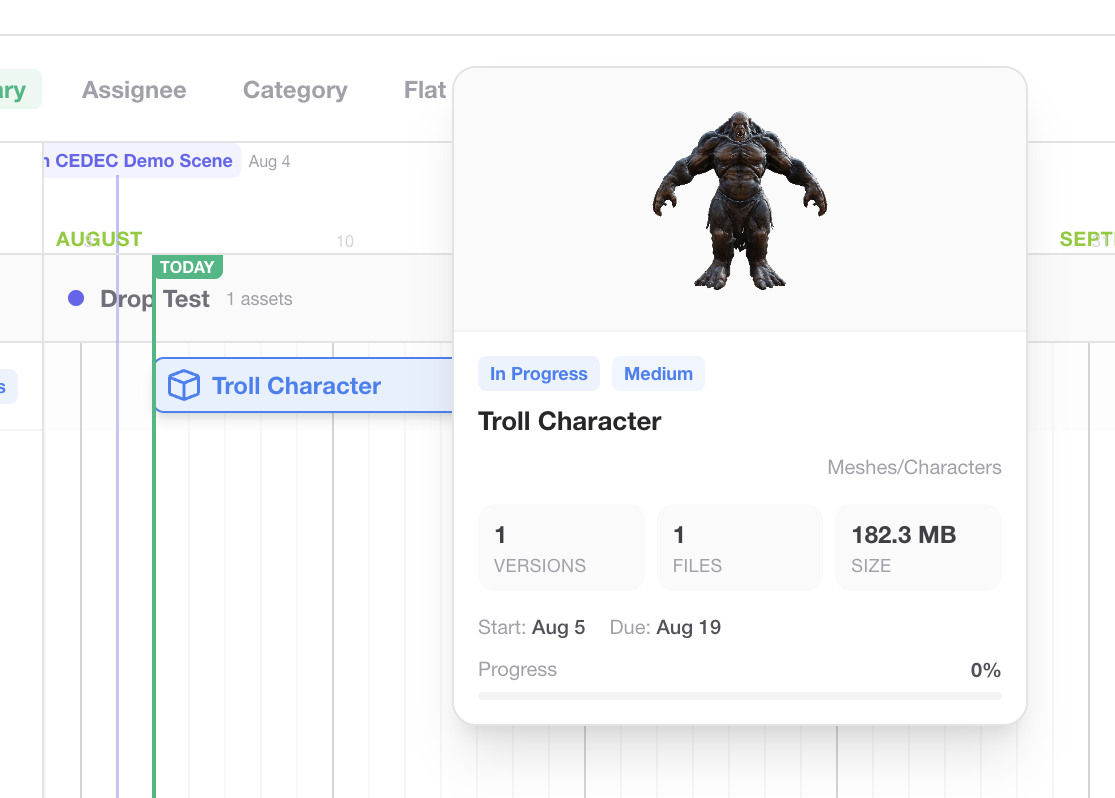
Once an asset has been uploaded, it will appear on the left when viewing a task. Additionally, a preview of the asset will appear when hovering over a task bar in the Timeline view.
¶ Where to go from here?
Now that we’ve covered creating a task, let’s dive into the task review process in the next article: